Tips for Faster Seed Germination
To speed up seed germination, keep seeds warm and moist, soak them before planting, and use high-quality, fresh seeds. Lightly cover seeds with soil and provide proper ventilation. Avoid overwatering to prevent rot.
Growing plants from seeds can be rewarding, but waiting for seeds to sprout can sometimes feel like forever. If you want to see your seeds sprout faster, there are a few simple procedures that can help. In this article, I’ll share practical, science-backed tips for speeding up seed germination so you can enjoy healthy seedlings sooner.
Before you get started, it’s important to know what seeds need to germinate. Seeds require warmth, moisture, oxygen, and, in some cases, light. When these conditions are met, the seed coat breaks down and the embryo inside begins to grow.
However, not all seeds germinate at the same speed. Some need only a few days, while others can take weeks. The good news is that a few changes in your routine can give your seeds the best chance to sprout quickly and evenly.
Use Fresh, High-Quality Seeds
Start with seeds that are fresh and from a reliable source. Older seeds may take longer to sprout or may not germinate at all. Always check the packet for the expiration date, and store unused seeds in a cool, dry place.
Soak Seeds Before Planting
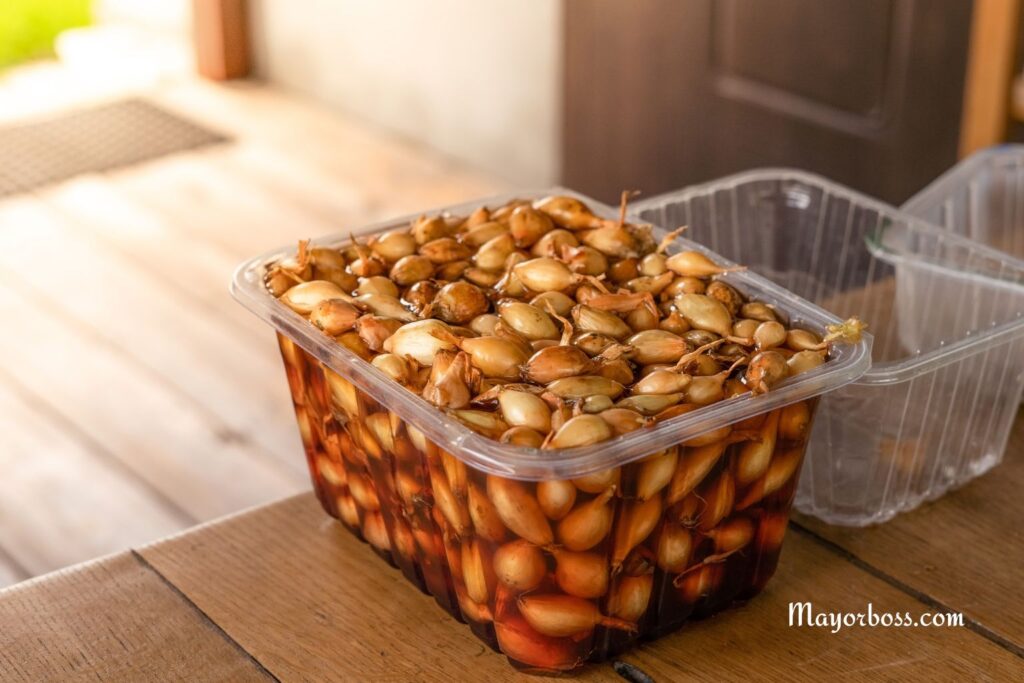
One of the most effective ways to speed up germination is to soak seeds before planting. Many seeds have a tough outer shell that can slow down the absorption of water. By soaking seeds in room-temperature water for 8–24 hours, you help soften the seed coat and kickstart the germination process. Be careful not to soak for too long, as seeds may rot if left in water for more than a day.
Scarify Hard Seeds
Some seeds, such as morning glories or sweet peas, have especially hard shells. Scarification is the process of gently scratching or nicking the seed coat to help water penetrate faster. You can do this with sandpaper or a nail file. Scarify just enough to weaken the coat, then soak the seeds as described above.
Provide Consistent Warmth
Seeds germinate best at specific temperatures. Most seeds prefer a temperature range of 20–25°C (68–77°F). You can use a seedling heat mat or place your seed trays in a warm spot, such as on top of a refrigerator. Avoid placing seeds in direct sunlight, which can cause uneven heating or dry them out.
Keep the Soil Moist but Not Soggy
Seeds need moisture to sprout, but too much water can cause them to rot. Use a spray bottle or a gentle watering can to keep the soil consistently damp. If possible, cover seed trays with a clear plastic lid or plastic wrap to help maintain humidity. Be sure to remove the cover as soon as the seedlings emerge to prevent mold.
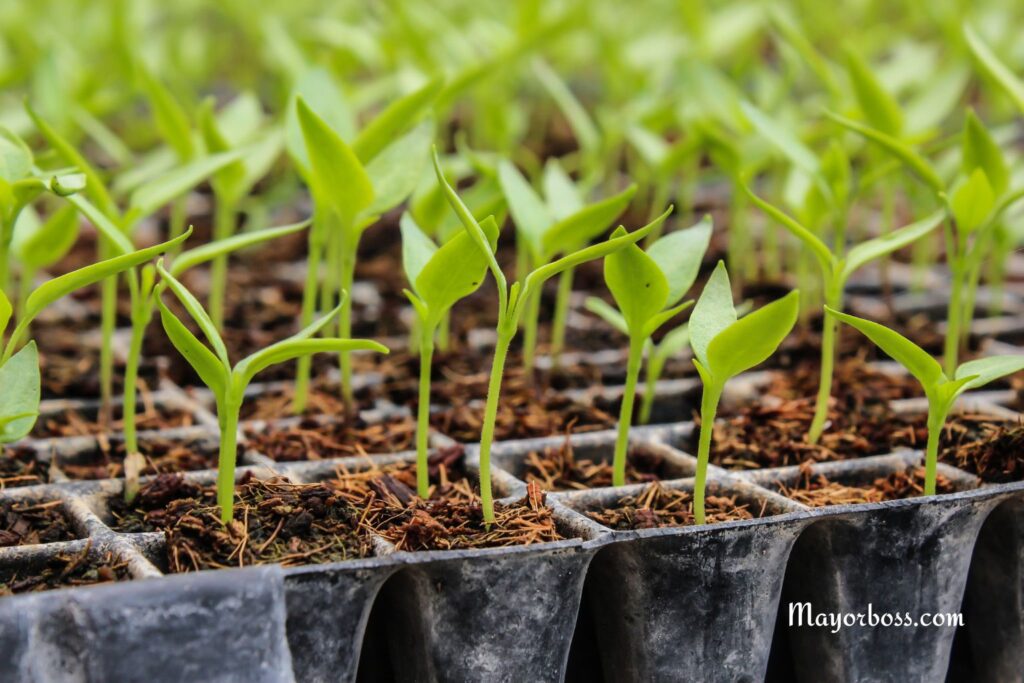
Use a Fine, Light Seed-Starting Mix
A good seed-starting mix is light, fluffy, and sterile. It holds moisture well without becoming compacted. Avoid using garden soil, which can harbor disease and pests. Fill your seed trays loosely and avoid pressing down the soil, as seeds need oxygen to sprout.
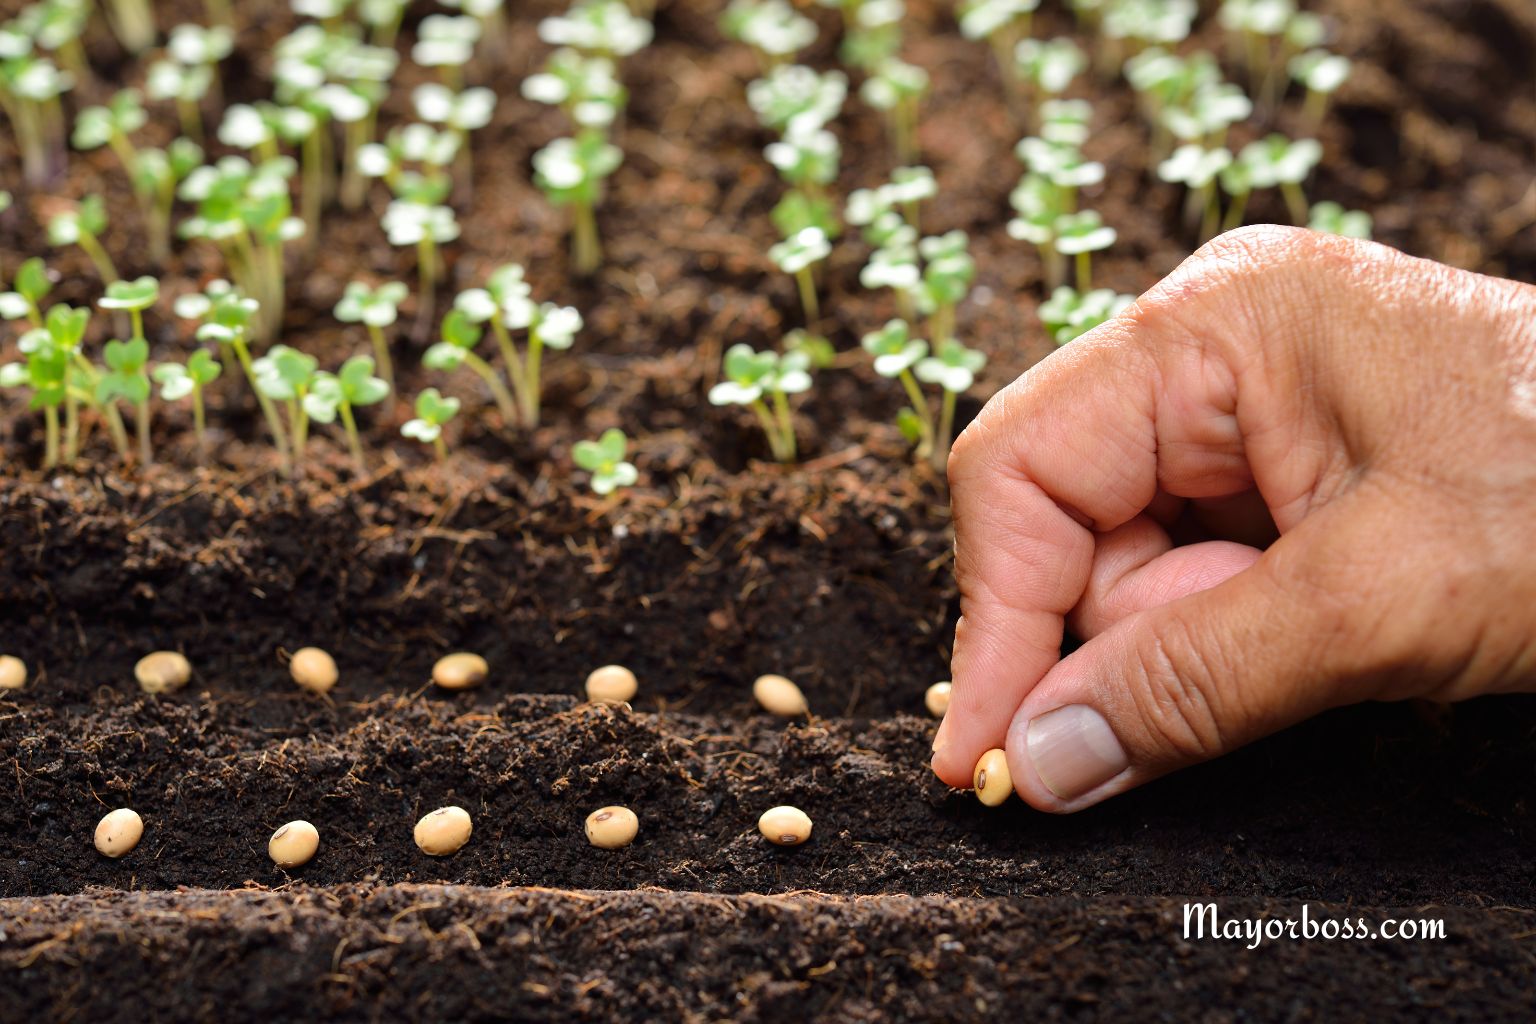
Plant at the Right Depth
Seeds should not be buried too deep. As a rule, plant seeds at a depth two to three times their diameter. Some seeds, like lettuce or snapdragons, need light to germinate and should be pressed lightly onto the surface of the soil without covering.
Provide Good Air Circulation
Proper ventilation prevents fungal diseases and helps seedlings grow strong. Once seeds sprout, remove plastic covers and make sure air flows freely around your seedlings. If seeds are starting indoors, a small fan at low speed can help.
Use Bottom Watering
To avoid disturbing seeds, water trays from the bottom. Place seed trays in a shallow container of water and let the soil soak up moisture through the drainage holes. Remove the tray once the top of the soil feels damp.
Pre-Sprout Seeds on Paper Towels
For certain seeds, you can pre-sprout them on a damp paper towel. Place seeds on the towel, fold it over, and seal it in a plastic bag. Keep the bag in a warm place and check daily for sprouting. Once you see tiny roots, transfer the seeds gently to the soil.
Limitations and Patience
Even with these tips, some seeds have a natural dormancy that takes time to break. Always read the instructions on your seed packet, as different plants may have specific needs.
Common Mistakes to Avoid
- Overwatering: Causes seeds to rot.
- Underwatering: Seeds dry out and fail to germinate.
- Planting too deep: Seeds may not reach the surface.
- Poor-quality soil: Can harbor disease or restrict oxygen.
- Lack of warmth: Slows germination or prevents it entirely.
Takeaways
Faster seed germination is possible with the right methods. Soak or scarify tough seeds, keep the environment warm and moist, use a light seed-starting mix, and plant at the correct depth. These techniques encourage seeds to sprout quickly, giving your garden a healthy head start.
FAQs
1. Should I soak all seeds before planting?
No, not all seeds benefit from soaking. Large or hard-coated seeds are ideal candidates. Small seeds or those that require light to germinate should not be soaked.
2. How long does it take for seeds to germinate?
Germination time varies. Some seeds sprout in just 2–3 days, while others may take several weeks. Always check the seed packet for guidance.
3. What temperature is best for seed germination?
Most seeds germinate best at 20–25°C (68–77°F). Warmer temperatures can speed up the process, but avoid excessive heat.
4. Can I use regular garden soil to start seeds indoors?
It’s best to use a sterile seed-starting mix to avoid pests and disease. Garden soil can be too heavy and may not drain well.
5. Why did my seeds not sprout at all?
Possible reasons include old or poor-quality seeds, planting too deep, insufficient warmth, too much or too little water, or poor soil conditions. Check each factor to improve future results.